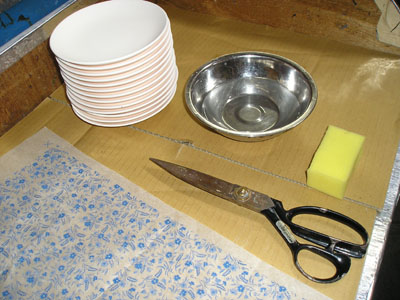
1. You will need water, scissors and a small sponge. Also keep several dry cloths handy.
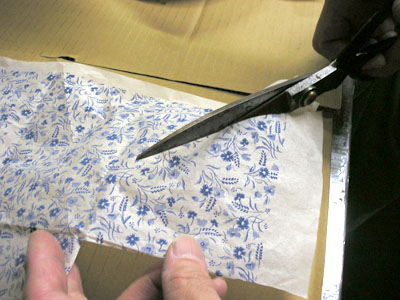
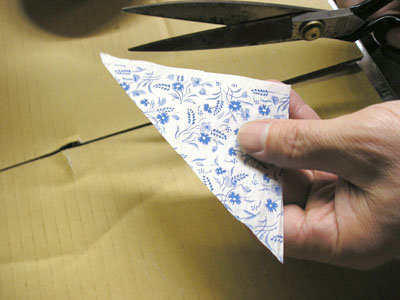
2. Cut out the ceramic transfer paper, as required.
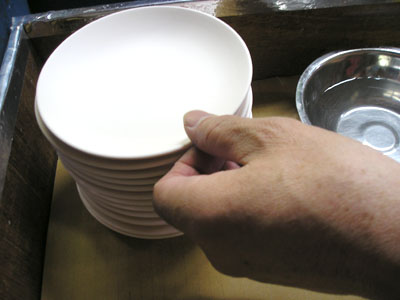
3. Work with unglazed raw clay, leatherhard, pottery or bisque ware.
4. Soak sponge and squeeze to remove excess water.

5. Sponge lightly around area where transfer will be applied.
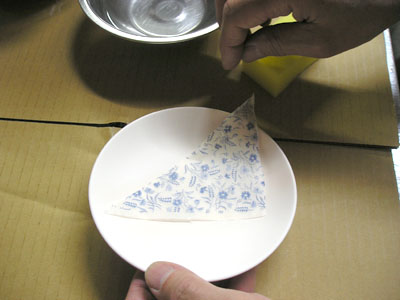
6. Place transfer paper in the correct position print side facing down.

7. Re-moisten sponge.
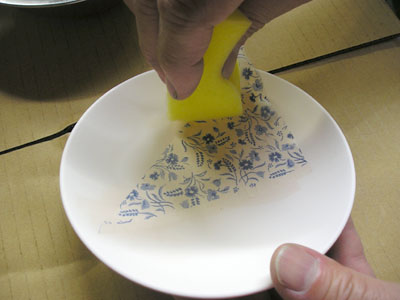
8. Start at one corner, and sponge evenly over the top of the transfer paper. Take care not to wrinkle paper. Lightly re-moisten sponge as required.
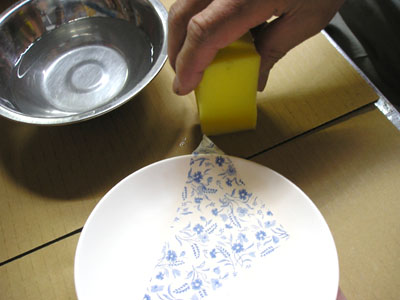
9. Take care as too much water may cause the pattern to bleed. Leave to dry for a few minutes.
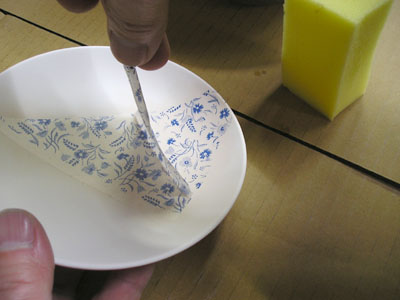
10. Slowly peel off the paper, checking the pattern has transferred. If not, dampen again and leave a little longer before removing the paper. Discard paper as can only be used once.
11. Leave until fully dry which could be 2-3 hours or longer depending on the weather. Transparent coloured or clear glazes can be applied on the dry surface and then fired to the appropriate temperatures between Cone 05 to Cone 10 (1040 degrees C to 1300 degrees C or 1910 Degrees F to 2380 degrees F. However, we would warn against firing too high especially the softer colours and reds. Depending on the type of clay you are using, firing conditions can also change the intensity of the finished colour.
Note: application to raw/soft clay will not need as much water
HANDY HINTS
+ Store in dark dry area when not using
+ Best on flat or slightly curved surfaces
+ Take care when applying glazes over top of transfer patterns particularly first coat which should be applied in a gentle dabbing motion. Until patterns are fired they are quite soft and can be easily smudged. Best to apply transfers at last stage after any other decorating is done
+ Transfers behave differently some requiring more moisture and some less. It is a bit of trial and error but once you master the technique you can achieve some amazing results.